Add screenshots to a support ticket
A screenshot often says more than a paragraph: the error on screen, the setting you changed, the page that looks wrong. A ticket's Description and every reply you write take pictures inline, at the point in your text where you put them, so the support team reads them in order.
Who can do this: everyone who can raise a support ticket.
-
Take the screenshot and copy it, or save it as a file.
-
Open the box to write in:
- for a new ticket, open Support from your account menu and select New ticket, then click in Description;
- for a reply, open the ticket and click in the Comment box under Conversation.
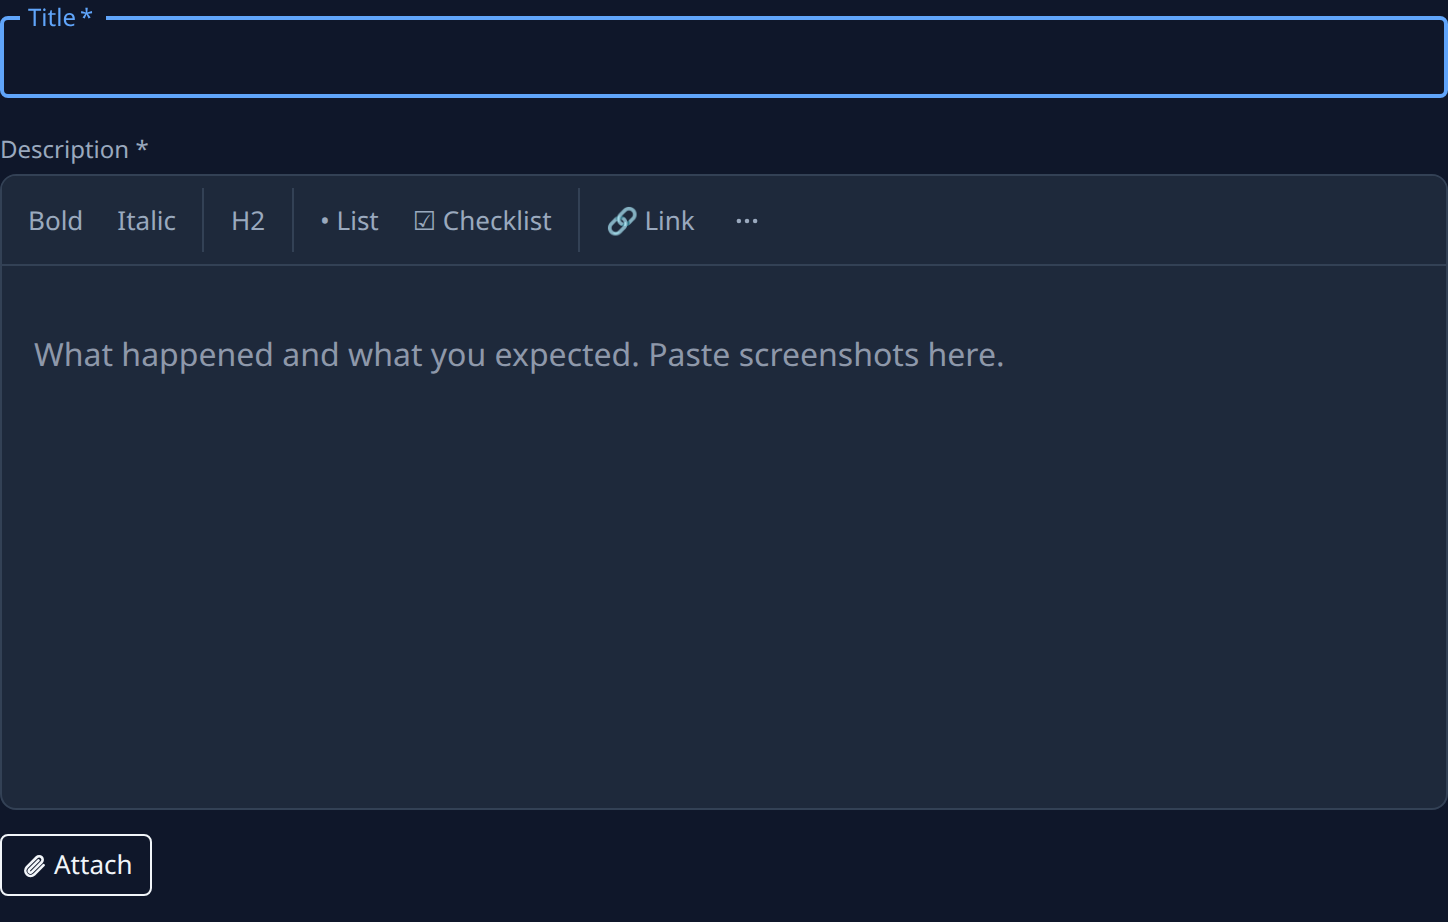
-
Put the cursor where the picture belongs, then add it one of three ways:
- paste it with Ctrl+V, or Cmd+V on a Mac;
- drag the image file and drop it in the box;
- in a reply, select the paperclip, Attach images, and pick one or more files.
-
Wait for the picture to appear in the text. While it uploads, Send waits for it.
-
To take a picture out again, delete it from the text as you would a word. A picture you remove before sending is not kept on the ticket.
-
Finish the text and select Send for a reply, or Create for a new ticket. Ctrl+Enter, or Cmd+Enter on a Mac, sends a reply too.
The support team sees each picture where you put it. In the email copy of a reply, a picture is named rather than shown: open the ticket on Support to see it.
Related
- Get help: ask Jarvis first, and raise a ticket when you need a person.
- Follow up on a support ticket: find a ticket, read the replies and answer them.
- Support: the ticket list and a ticket's page, field by field.