Rename a model account or describe it
An account added with no name shows its slug, a short code that says little about whose plan it is or what it is for. Give it a name people recognise, such as the team and the plan, and a description that says when to use it. The account keeps its sign-ins, quota and settings; only the words change.
Who can do this: Org Owners and Org Admins. Anyone else sees Read-only — only an administrator can change an account.
- In the sidebar, select Directory, then AI Accounts.
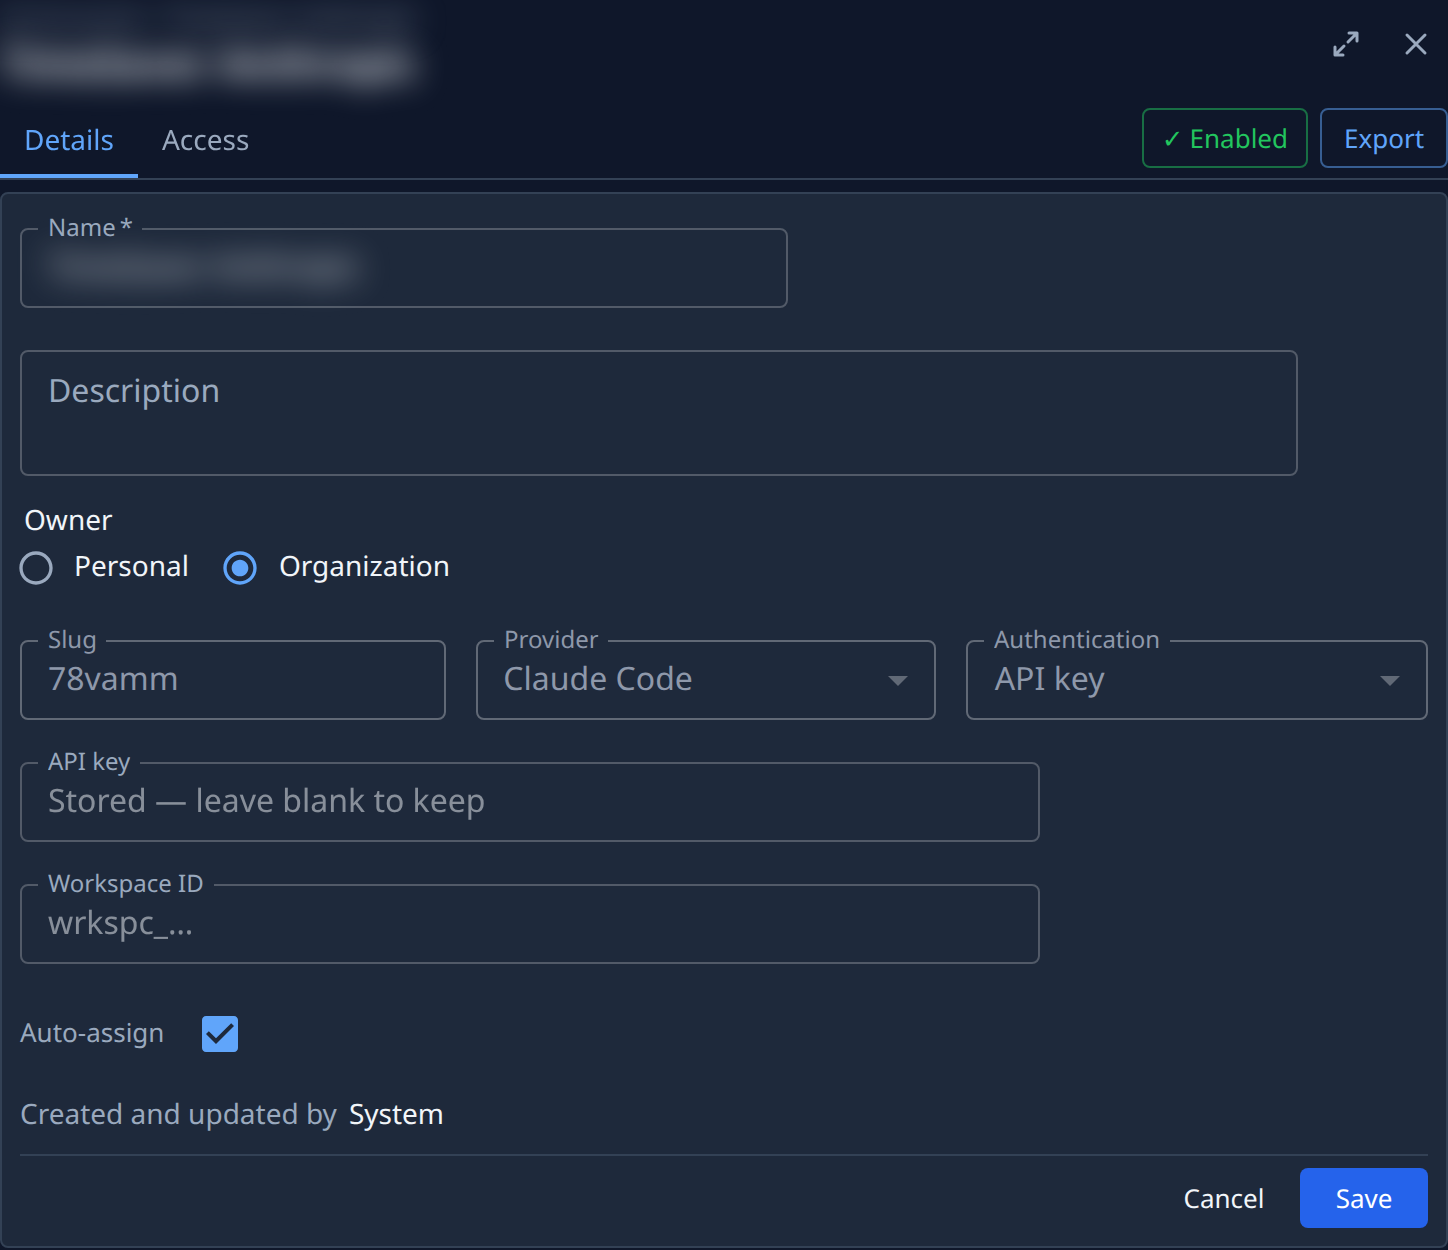
- Select the account's name, or Edit in its ⋯ menu. It opens on the Details tab.
- Type the new Name. It can't be left empty; the field says Required until it has text.
- Type a Description, or change the one there. Text between backticks shows as code, and the field previews it under Shows as:. Clear the field to remove the description.
- Select Save. The list opens again.
- Check the row: it shows the new name. Hover the name to read the name and description together.
Slug, Provider and Authentication are greyed: they can't change once the account exists. To move to another provider, add a new account; see Add a model account.
Related
- The other settings on the same tab: Limit how a model account is used and Change a model account's owner.
- Every field on the account's page: Model accounts.
- What a name, slug and provider are: How model accounts work.