File a template's task under a feature
The Start dialog asks only for a Project, so a task started from a template lands in its project, in no feature. When it belongs to one part of your product, such as the Billing feature, file it there. Use Customize to pick the feature before the task exists, or Start and file the task right after. Features themselves are explained in How epics and features work.
Who can do this: anyone who may create tasks in the project. Without that, the template rows show no Start or Customize.
Pick the feature before you start
-
Open Settings in the sidebar, then Templates under Customize, and find the template, as in Find a template in the gallery.
-
On its row, select Customize. The new-task form opens filled in from the template, and its breadcrumb reads Project ▾ › New task.

-
Select Project ▾ and pick the project. The list names only projects you may create tasks in.
-
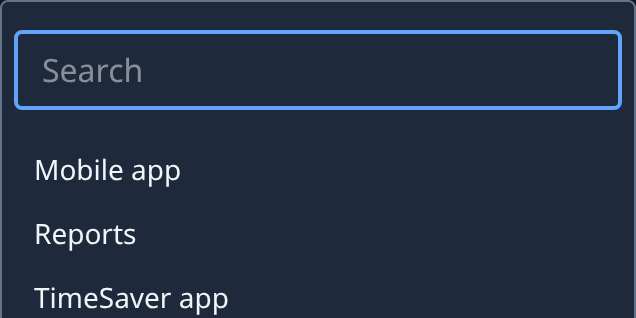
Select the project's name in the breadcrumb again. Its features are now listed under it; pick the one the task belongs to. The breadcrumb names the project and the feature, such as acme / Billing.
-
Fill in the brief's input marks and change anything else, as in Customize a template before you start it.
-
Select Go to start the task, or Save to keep it as a draft. Either way it is filed under the feature.
File it after Start
- On the template's row, select Start, pick the Project, fill in any inputs and select Start. The new task opens.
- In its breadcrumb, select the project's name, with its ▾. A list opens with a Search box.
- Pick the feature under the project. If it doesn't exist yet, select New feature…, give it a Name and select Create: you return to the task, filed under it.
- Check the breadcrumb: it names the project and the feature.
- Select the feature in the sidebar. The task shows on the board with the feature's other tasks.
A template whose size is Epic starts an epic. File the epic itself: its subtasks always follow it. See File an epic under a feature.
Related
- Start a task from a template: the Start dialog, step by step.
- Organize tasks into features: create features and file tasks under them.
- Templates: every field of the Start dialog.