Create a group
A group lets you grant access once instead of person by person: every role the group holds applies to each of its members. Create one for a team, for example everyone who works on one product.
Who can do this: creating a group and changing its members require the org admin role. Giving it a role also needs the permission to manage access.
Create the group
- In the sidebar, select Directory, then the Groups tab.
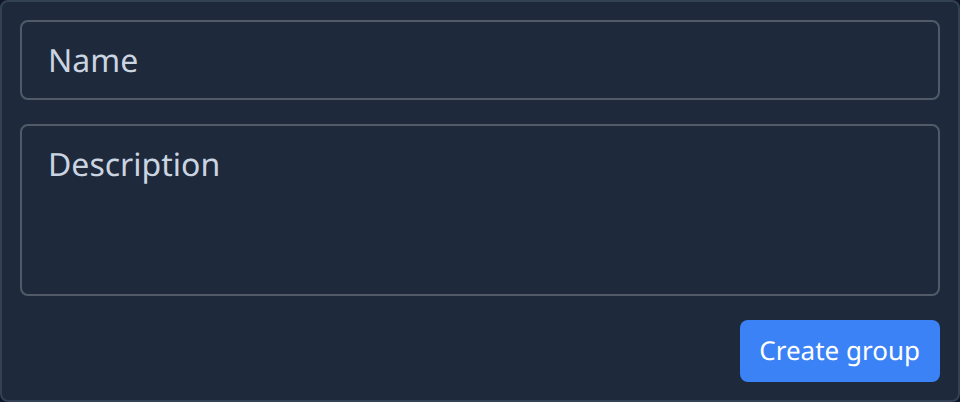
- Select Create Group. The form opens beside the list.
- Enter a Name, up to 64 characters.
- Optional: say what the group is for in Description.
- Select Create group. The group opens, with its Details, Members and Bindings tabs.
Add its members
- Select the Members tab.
- In Who, pick the people to add. Only people in your organization can be added.
- Select Add.
- Check that they appear in the list below.
- Back on the Groups tab, check the group's member count.
To take someone out, select Remove on their row and confirm. They lose every role the group holds.
Give it a role
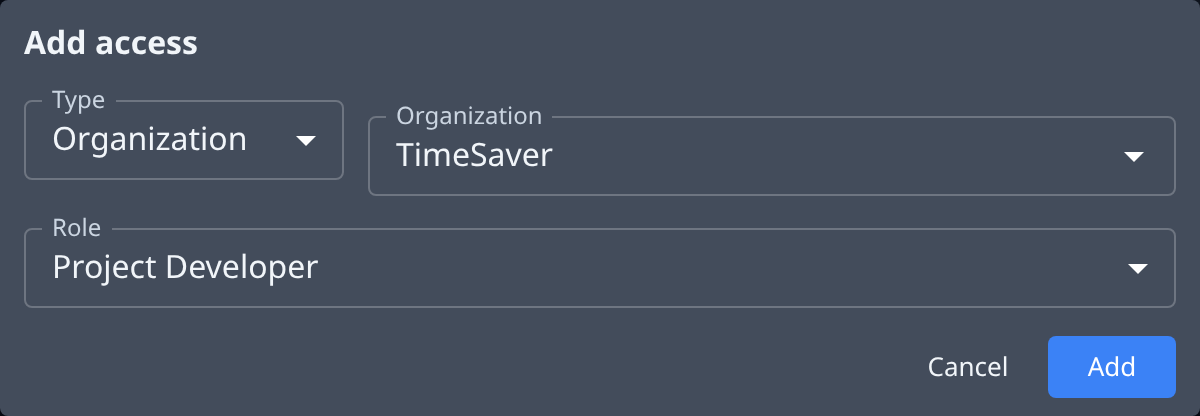
- Select the Bindings tab.
- Select Add.
- Pick the Type of thing, for example Organization or a project, then the thing itself.
- Pick the Role, for example Project Developer.
- Select Add.
The role appears in the table with the Source Direct. Every member now holds it.
Related
- Add one person to a group from the People tab instead: see Invite a person and grant access.
- Every tab of a group: Groups.
- The roles a group can hold: How team and access work.